




Difficulty: Explorer (Level 1)
One of the best parts of growing up is the love you get from the people around you. Your family and friends will be there to cheer you on as you reach new landmarks and try new activities. They will celebrate your successes and help you through any challenges.
Another great part of growing up is using your creativity to support your loved ones in return.
Whether you bake a special treat, draw pictures, or write notes of support, tapping into your creativity can be an excellent way to explore your interests while giving back to your loved ones.
No-bake birthday cake
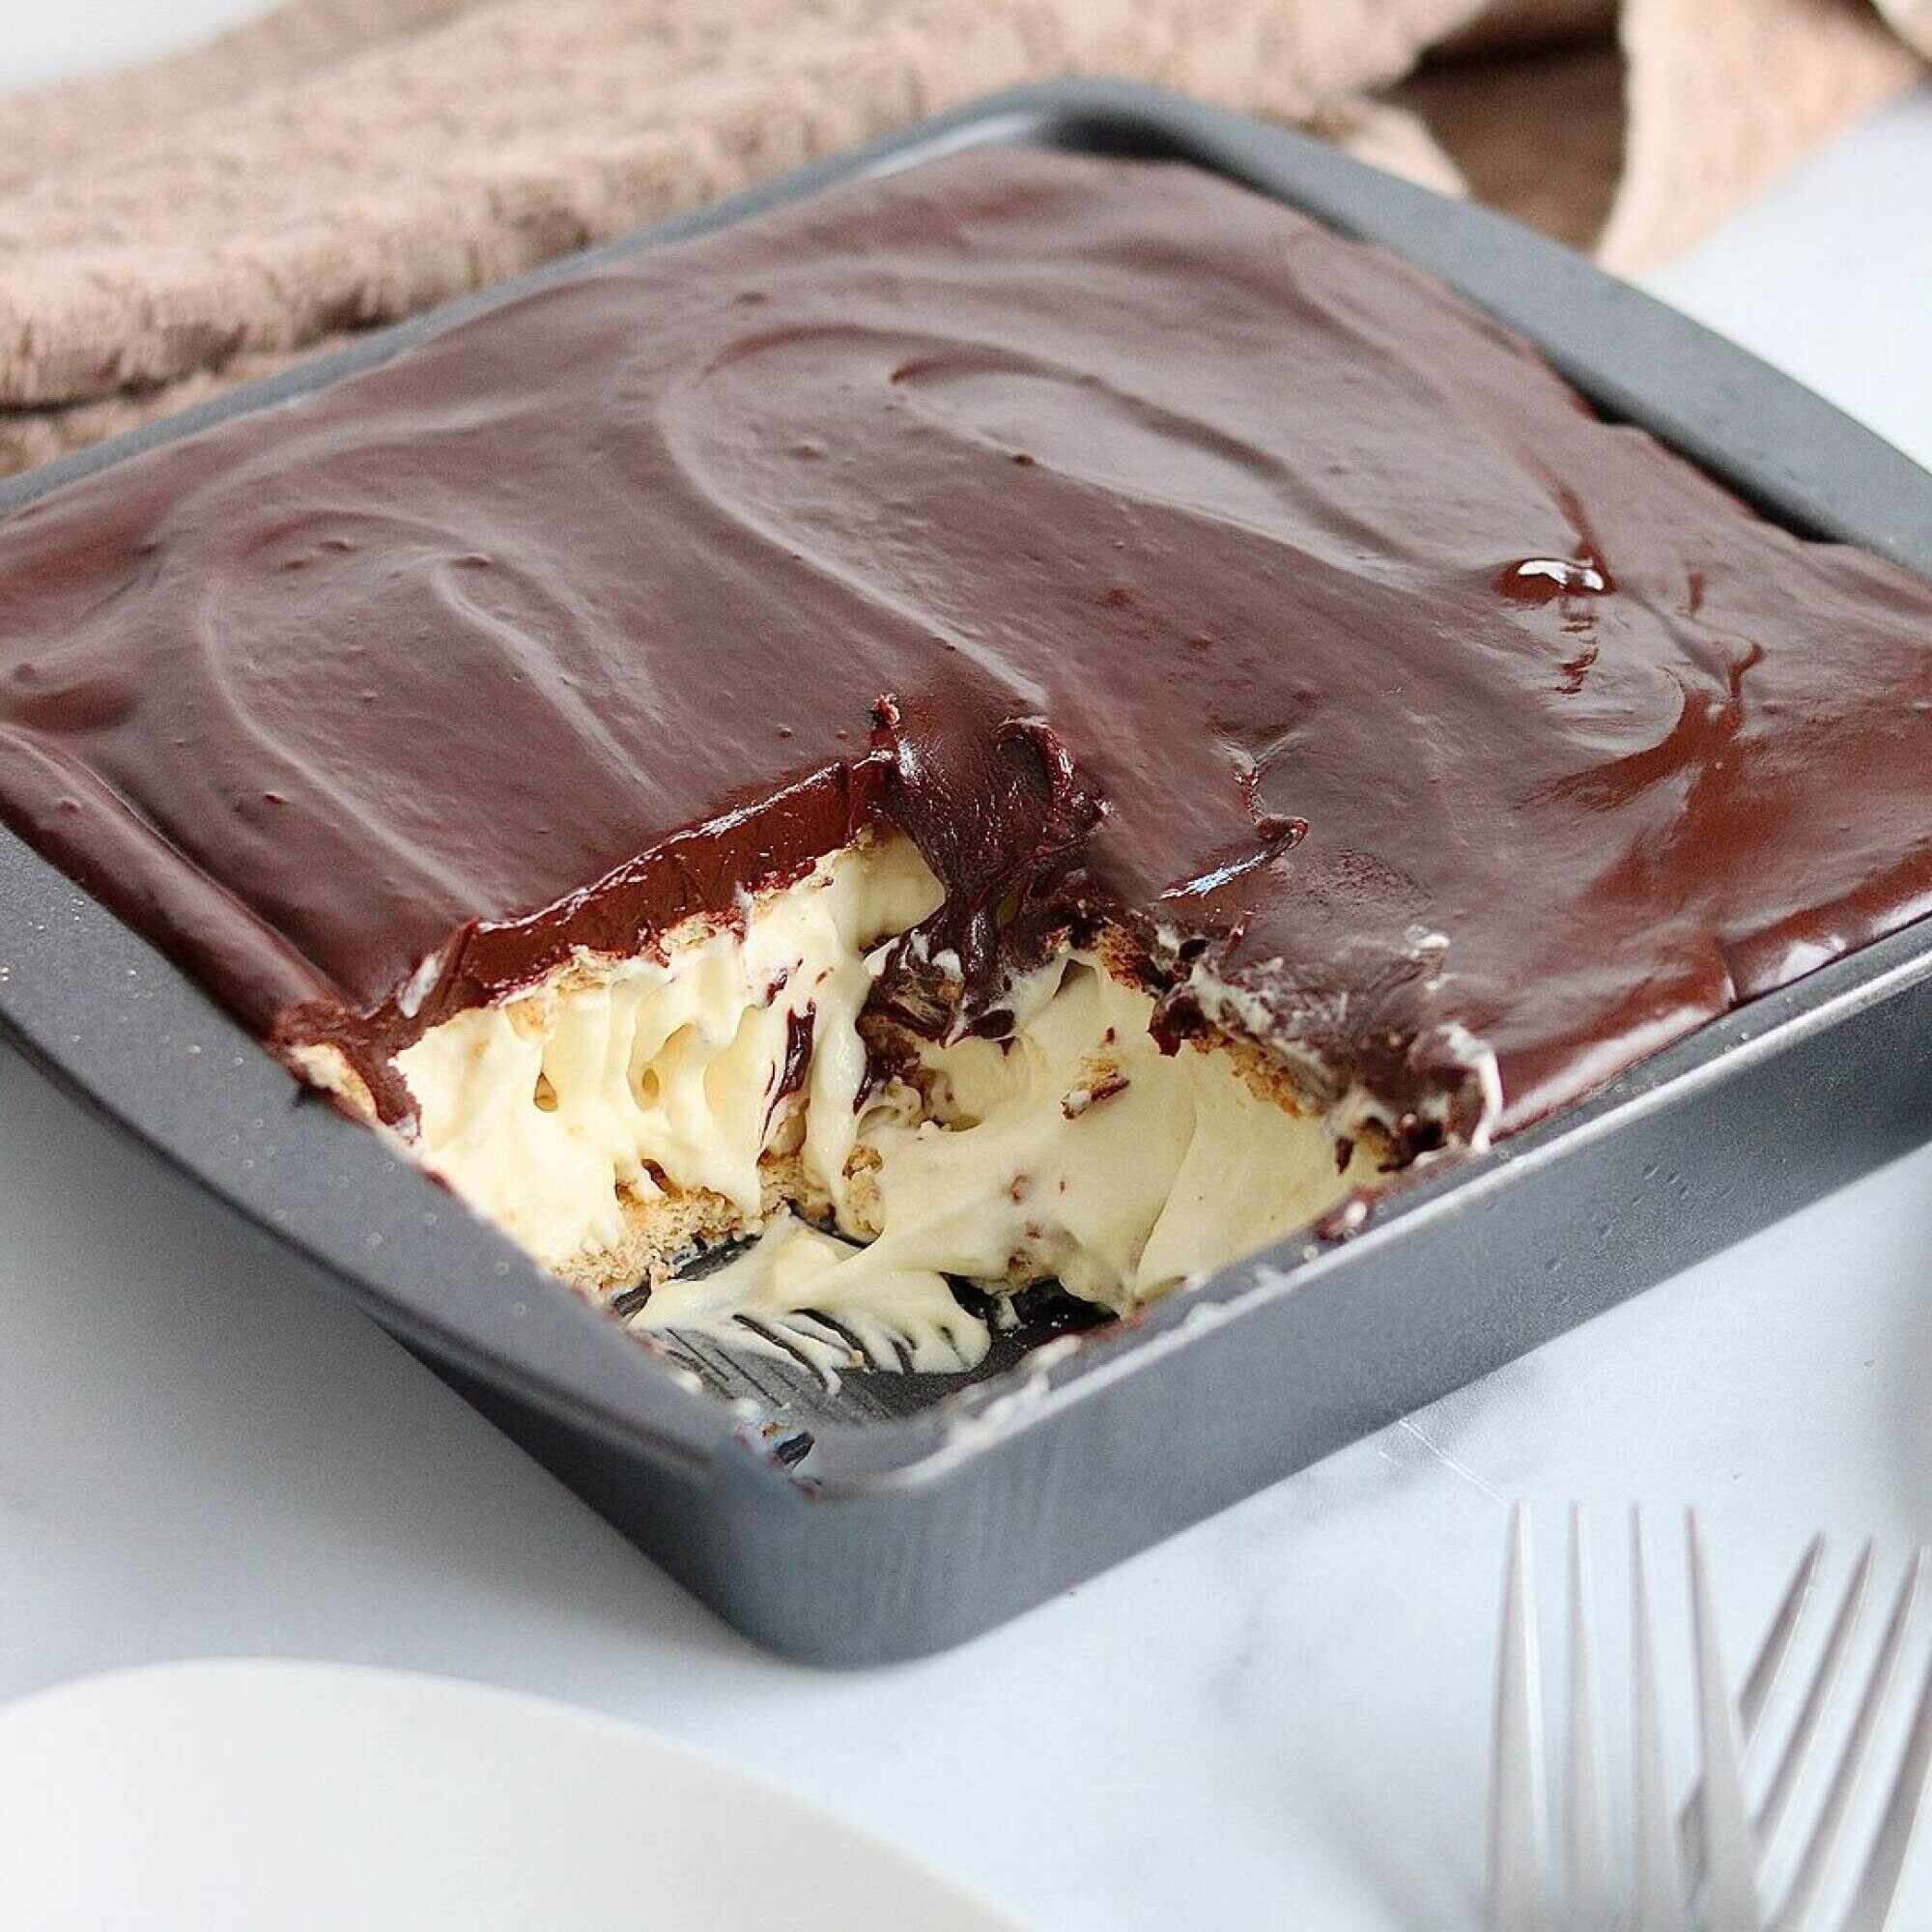
Ingredients
-
digestive biscuits (rectangular or square shapes are easier, but circular ones work, too)
-
250ml of pre-made vanilla pudding or vanilla Greek yogurt
-
125ml of whipped topping (or use more yogurt or pudding)
-
1 semi-sweet chocolate bar, chopped into small pieces (about 115 grams)
-
125ml of heavy cream
-
a lunchbox or small container to put the cake in
-
stickers to decorate your container
Instructions
-
If you are using whipped topping, mix it with the vanilla pudding or Greek yogurt.
-
Line the bottom of your container with digestive biscuits. Break the pieces to fit the size of your box.
-
Add a layer of cream mixture on top. Then, place another layer of biscuits before adding another cream layer. Place the container in a fridge to chill for 30 minutes. Depending on the size of your container, you might have enough ingredients to make two cakes.
-
Place your chocolate pieces into a heat-safe bowl. In a microwave-safe bowl, microwave the heavy whipping cream for about 45 seconds. Keep an eye on it so that the cream doesn’t boil over. Once warm, pour the heavy cream over the chopped chocolate and let it sit for 2 minutes. Start whisking slowly in the centre, and keep mixing in one direction until everything is combined.
-
Once the chocolate topping has cooled to room temperature, pour it on the dessert. Place it in the fridge for about eight hours.
-
Give the lunchbox cake to a friend or family member as a special surprise. Use stickers to decorate the container.
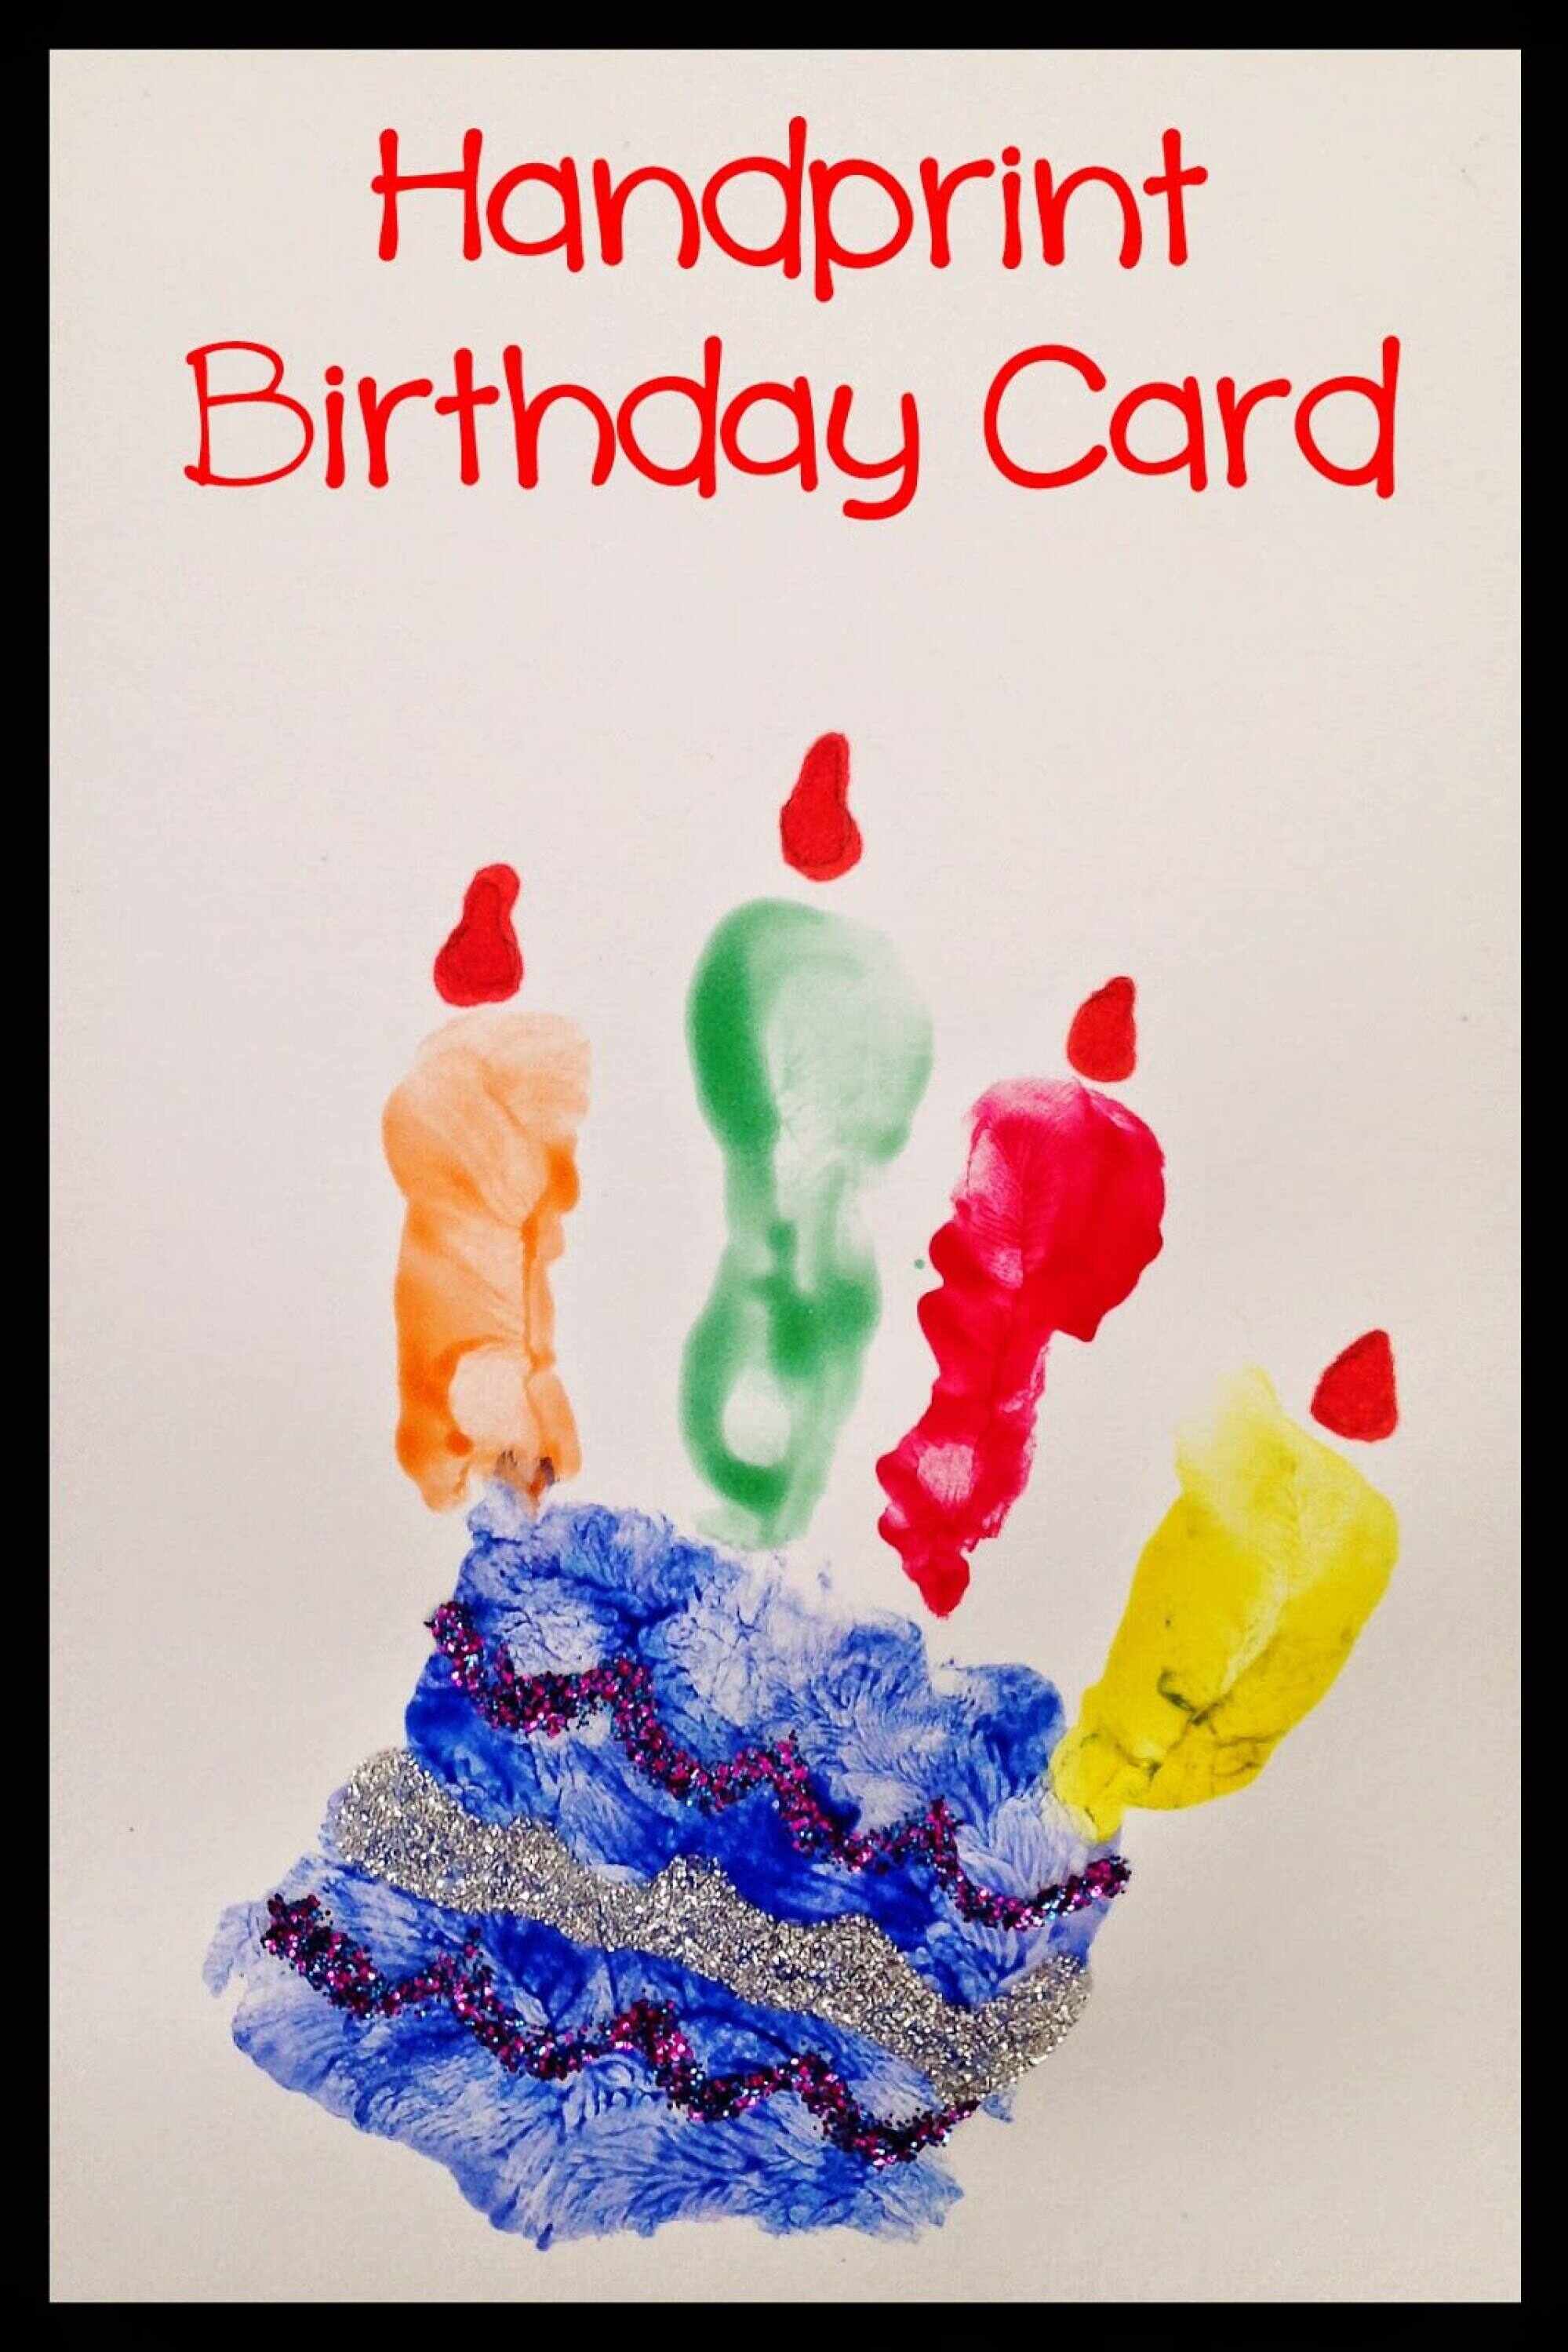
Handprint birthday card
Materials
-
paper
-
skin-safe paint (optional)
-
crayons, markers, or coloured pencils
Instructions
-
On the front of the card, you will use your handprint to create a birthday cake with candles. You can dip your hand in skin-safe paint to make your handprint or use a pencil to trace the shape of your hand on the paper. Don’t include your thumb.
-
Use an orange or yellow marker to add flames on top of each finger on the paper. These are the candle flames.
-
The palm of your hand is the cake. With your markers, add decorations to the cake on the card.
-
Write “Happy Birthday” at the top of the paper. On the other side of the card, write a message of appreciation for the person you’re giving it to.

.jpeg?image_process=image/resize,w_3840/quality,Q_75)
