Read the following text and answer the quiz below.
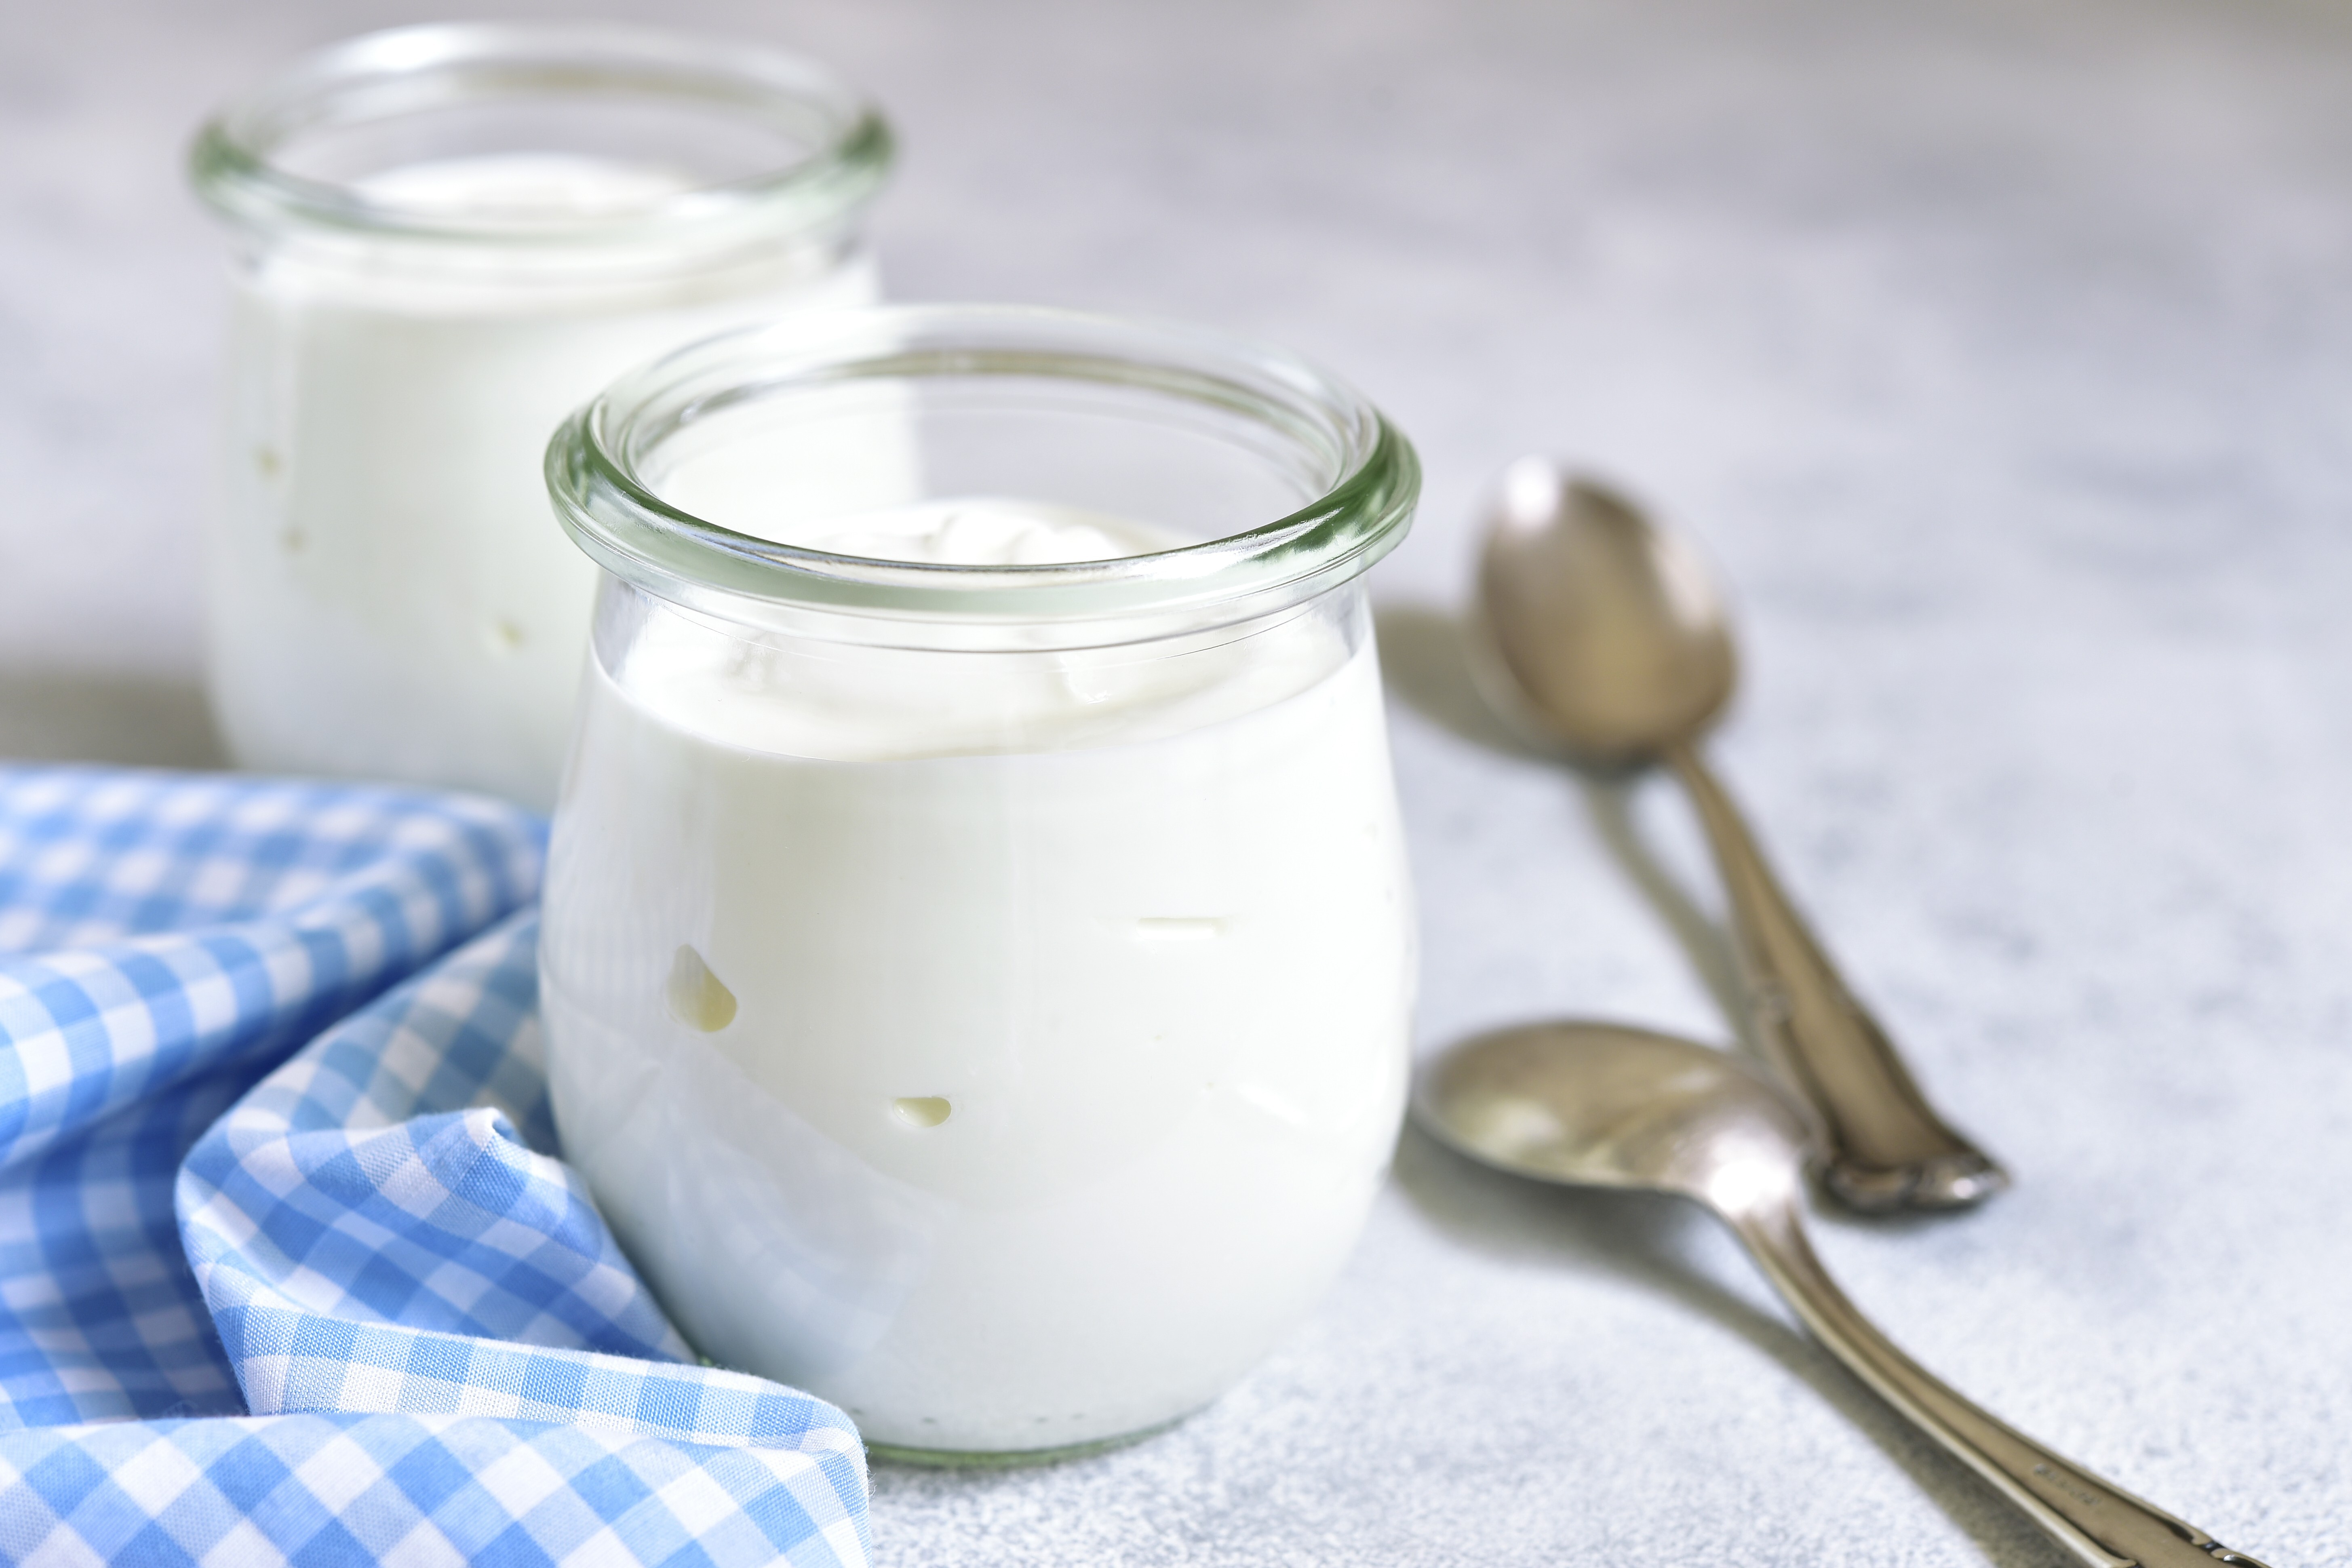
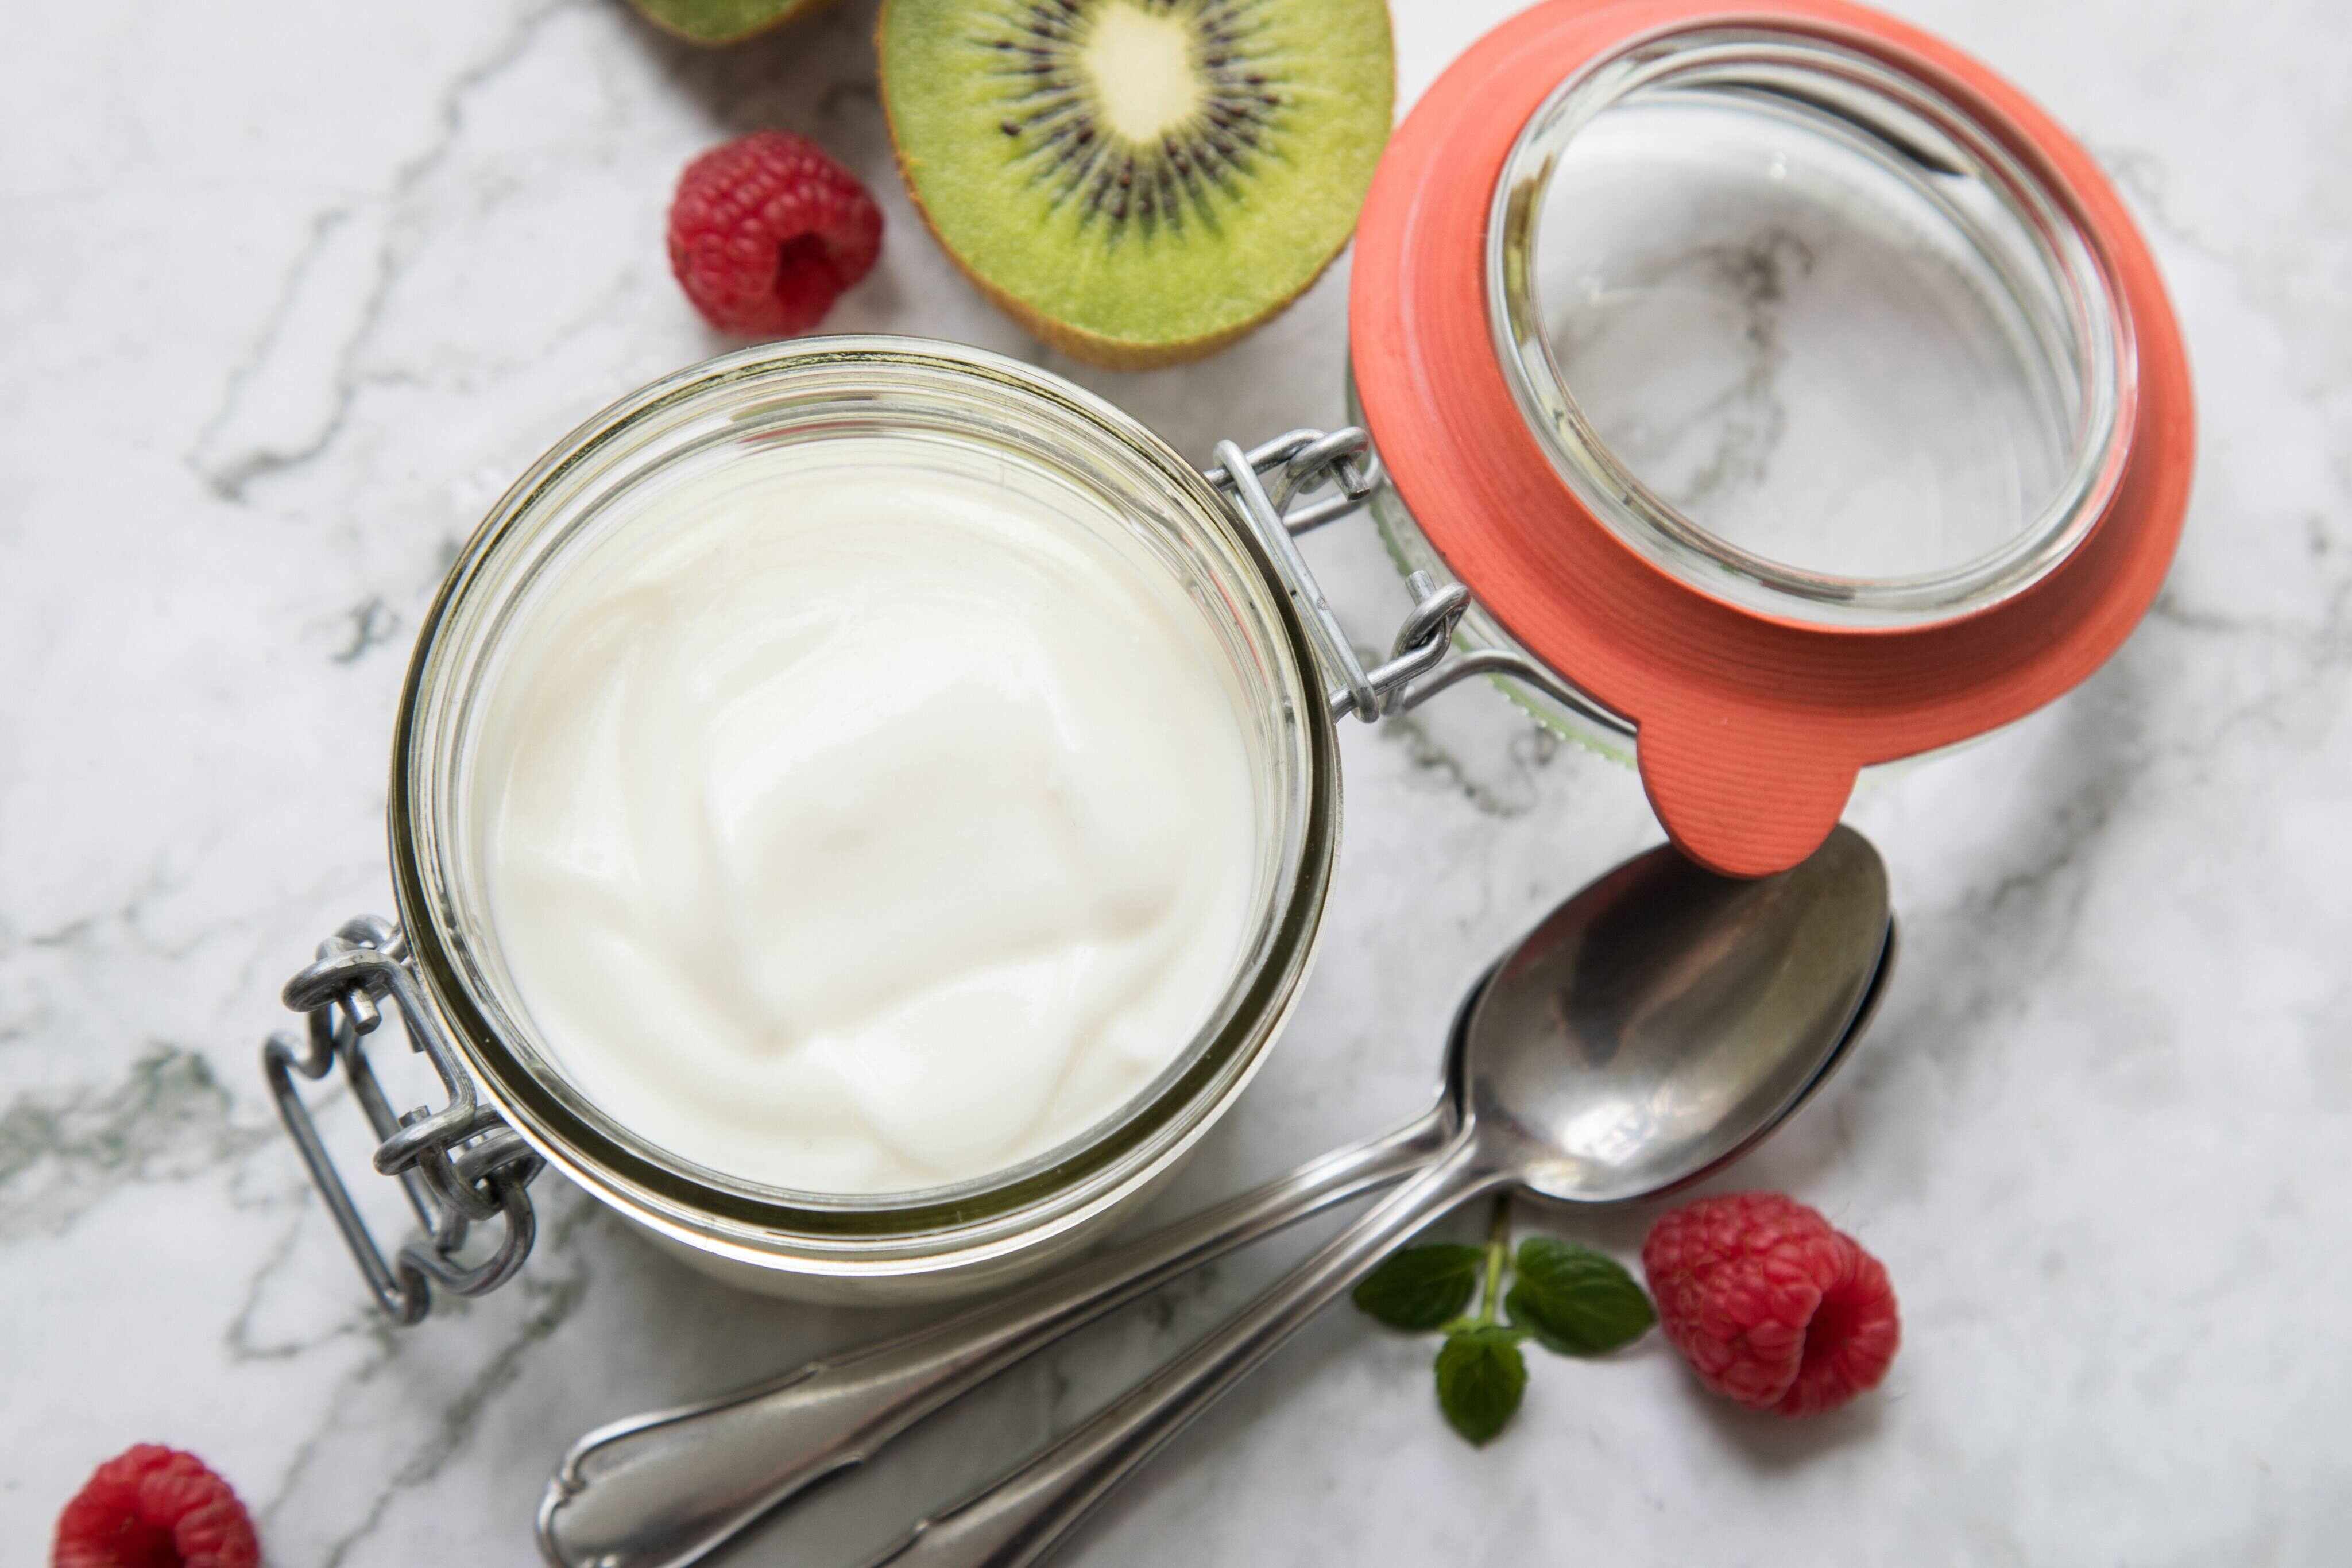
[1] Demand is soaring for skyr, an Icelandic dairy product that is high in protein, low in fat and easy to use in different tasty recipes. Given the soaring level of demand for skyr right now, some supermarket shelves are empty, so here is how you can make it at home.
[2] This way, you can try some of the recipes trending online, such as mixing skyr with energy drinks or making “Japanese cheesecake” by dipping caramel biscuits into skyr and leaving it in the fridge until the biscuits go soft. Whatever you choose to do with this dairy product, making skyr itself is easy, according to Gabriele Kaufmann from Germany’s Federal Centre for Nutrition (BZfE), who took a look at several recipes online to create this one.
[3] To make home-made skyr, you need these ingredients.
-
low-fat milk (typically, this is skimmed milk, with a fat content that is not more than 0.5 per cent, often even less)
-
a fermented dairy product such as sour cream
-
rennet (either in liquid form or as a tablet that dissolves in water; this is an enzyme mixture that is extracted from the stomachs of calves to make milk curdle)
[4] Kaufmann advised against using UHT milk products. Skyr is a fermented product, so it only works if it has certain microorganisms. These are rendered inactive in UHT products as they are heated to a higher temperature to give them a longer shelf life.
[5] In the first step, boil the milk and then leave it to cool. Recipes specify a temperature of 38 to 40 degrees Celsius. Use a thermometer; don’t just assume it will be fine if it feels cool. Temperatures that are too high disrupt fermentation while those that are too low compromise the delicate hygiene of dairy products.
[6] Once the milk has cooled, stir in the soured milk product and then the rennet. You now want the mixture to ferment – so leave it covered at room temperature for about 24 hours. Lastly, drain it by placing a fine sieve in a bowl and lining it with a clean cloth. If you have one, use a cheesecloth, but you can also use a cloth nappy or other clean linen cloth. The main thing is that it is perfectly clean and has a certain degree of permeability. After using this cloth, wash it at a high temperature.
[7] Wait and drain the mix for three hours. Then, you will find your homemade skyr in the cloth, ready to be tasted. If the consistency isn’t quite right yet, leave the mixture there for longer or gently squeeze it a little.
[8] Put anything you do not eat into the fridge straight away. “All kitchen utensils used must be clean and germ-free. So boil the container for the homemade skyr just as you would when making jam,” Kaufmann said. “And it should be sealable – open products in the fridge can quickly absorb odours.” The shelf life of your homemade skyr may be slightly shorter than that of industrially produced skyr. Trust your senses. If your skyr smells or tastes off or strange, don’t eat it.
Source: dpa, March 20